Spinning up a slow WooCommerce store is an easy way to burn through your marketing budget. If your checkout page lags, users bounce. To get dedicated performance without paying enterprise tax, a standard choice is a DigitalOcean Droplet paired with CloudPanel. It is lightweight, fast, and completely free of the bloat that plagues traditional cPanel setups.
Spin Up the Infrastructure
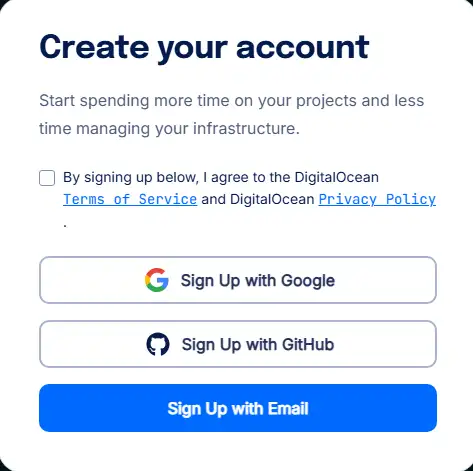
Head over to DigitalOcean and hit Sign Up in the top right. Use Google or your email to get past the gate.

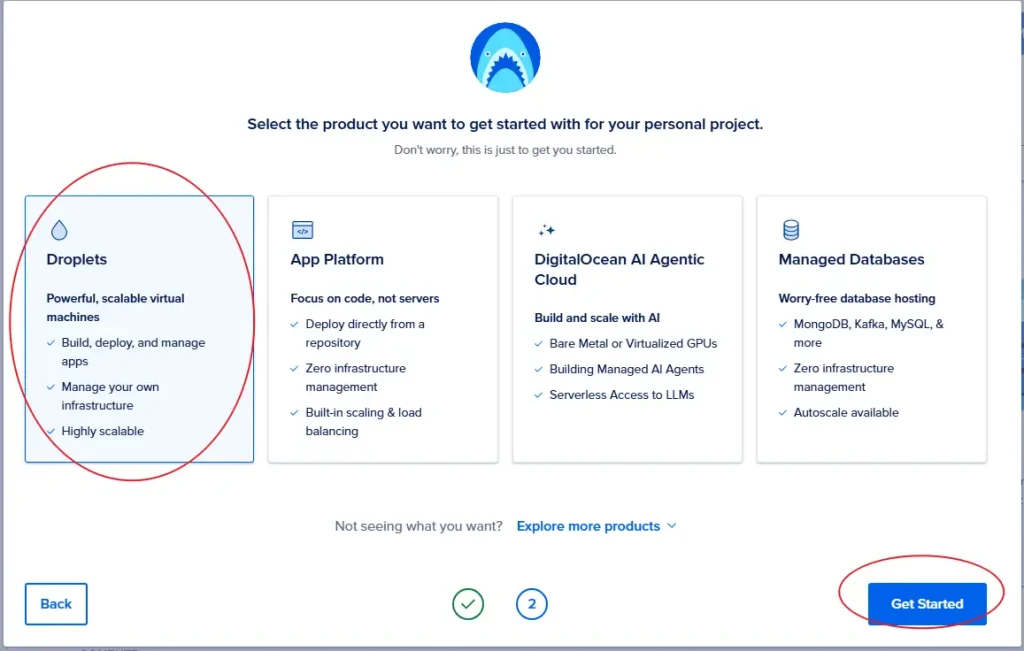
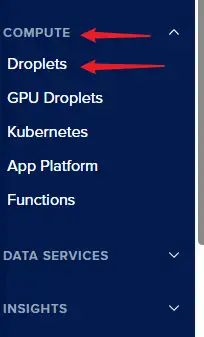
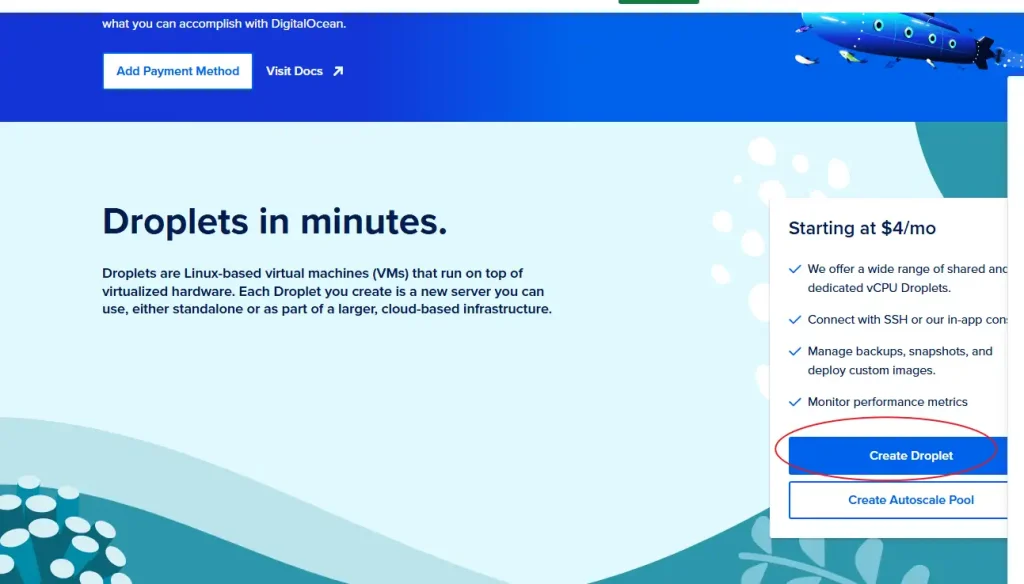
Once you are inside the dashboard, locate and select Droplet. If you happen to close the onboarding screen, navigate to Compute -> Droplets on the left sidebar and click Create Droplet.
Location and Image Selection
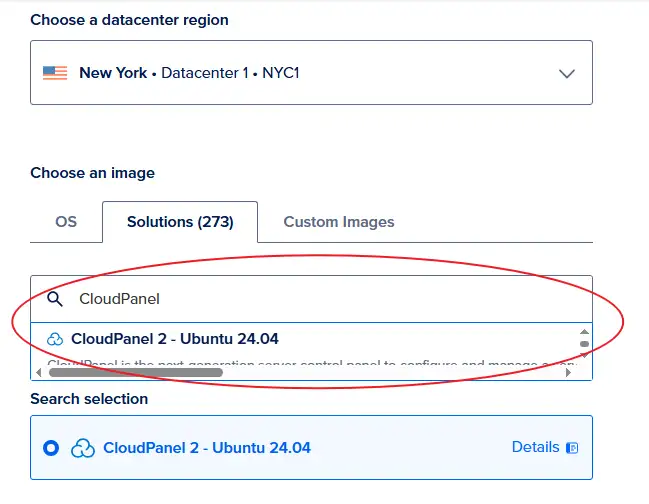
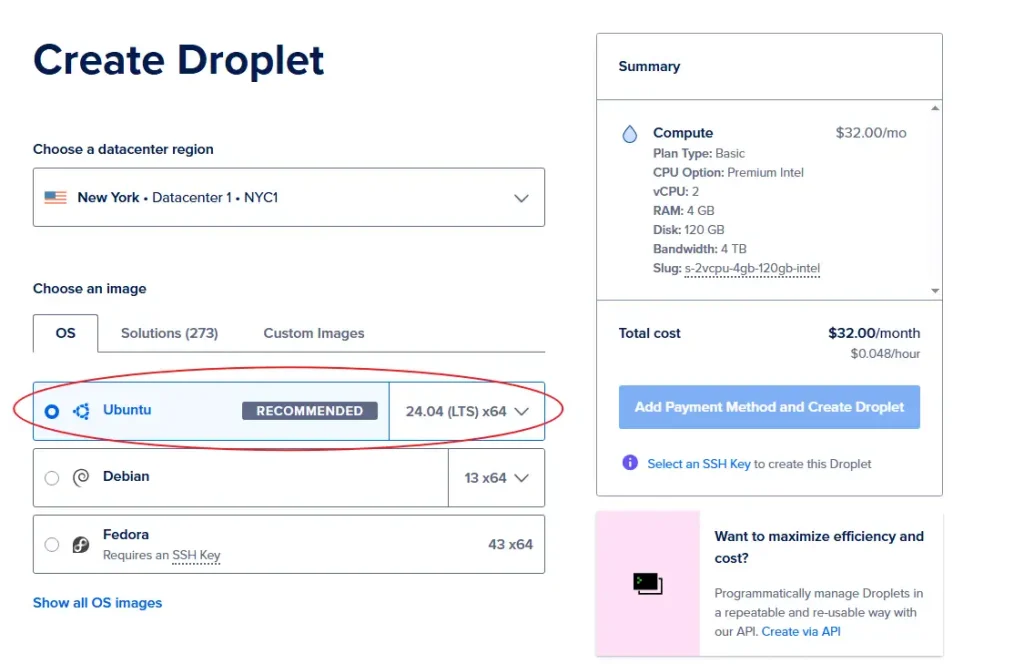
Pick a data center region closest to your target audience. If you are selling to US customers, New York or San Francisco is the obvious move.
Next, click the Solutions tab in the image marketplace, search for CloudPanel, and select CloudPanel 2 – Ubuntu 24.04.
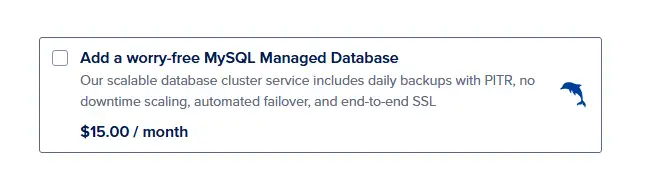
Skip the Managed MySQL add-on unless you enjoy overpaying for cloud resources. CloudPanel handles your database locally on the same box for free.
Hardware and Pricing: Don’t Overbuy
For an early-stage WooCommerce shop, stick to the Basic Shared CPU plans. DigitalOcean’s Dedicated CPU tiers start around $60–$70/mo, which is a massive waste of capital for a brand-new store. If you genuinely need dedicated compute power later, look at Vultr’s dedicated tiers instead—they offer similar performance for around $40/mo.
Inside the Basic tier, you have three options: Regular, Premium AMD, and Premium Intel.
- The Storage Difference: Regular uses standard SSDs, while Premium tiers use NVMe SSDs. On paper and in synthetic benchmarks, NVMe destroys standard SSD read/write speeds. In the real world, running a standard WordPress or WooCommerce stack, you will barely notice the difference.
- AMD vs. Intel: AMD is usually slightly cheaper for the exact same specs, but availability depends on your chosen data center region. Check what is available in your region and pick the cheaper option.
Recommended Specs for WooCommerce
- The Smart Choice: 2 vCPUs and 4 GB RAM. (Intel is $32.00/mo, AMD is $28.00/mo). This is the absolute sweet spot for handling heavy WooCommerce database queries.
- The Absolute Bare Minimum: 2 vCPUs and 2 GB RAM. It runs a vanilla WordPress blog perfectly fine, but WooCommerce will struggle under load. Avoid this if you expect concurrent traffic.

Authentication and Networking
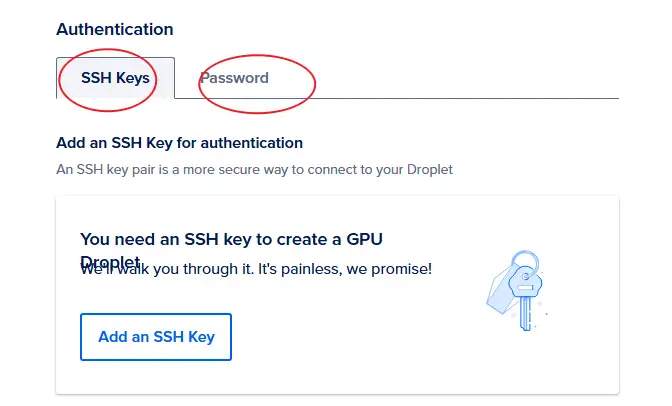
Set up your root password or SSH keys. If you are on Windows and prefer keys, use PuTTY and PuTTYgen.
Grab the standalone
putty.ziparchive (64-bit x86). It is completely portable and requires no installation. No junk files cluttering up your C drive.
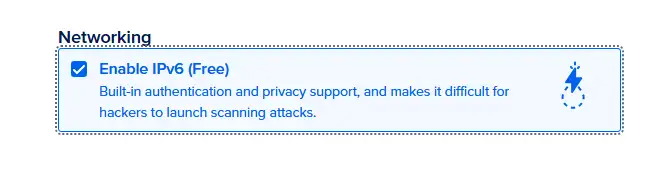
Toggle IPv6 on. It is free, so there is no reason to leave it off.
Change the hostname to something clean, leave the remaining settings at default, and create the Droplet.

The Alternative Manual Installation Route
If you prefer a clean vanilla environment without marketplace image baggage, deploy a stock Ubuntu 24.04 LTS image instead. You will manually install CloudPanel via SSH later.
Access and Security Configuration
Lock down the admin user setup immediately after the Droplet goes live. Automated scanning bots will start brute-forcing port 8443 seconds after deployment. Use DigitalOcean’s Cloud Firewall to restrict port 8443 access exclusively to your local IP address.
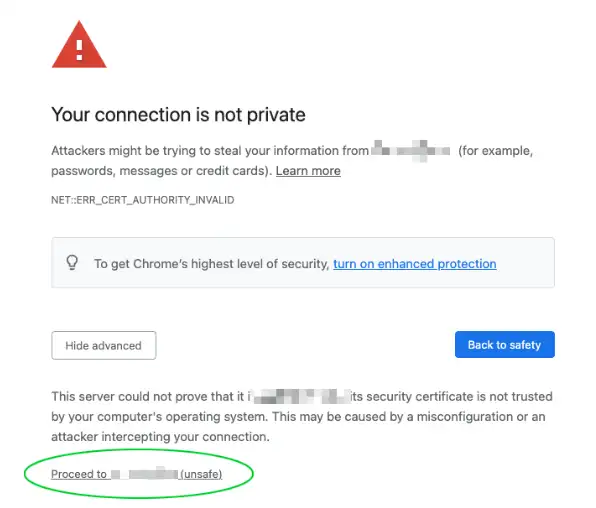
To complete the setup, open your browser and navigate to: https://yourIpAddress:8443
Bypass the self-signed cert warning and jump into CloudPanel to initialize your admin account.
Manual CLI Installation Script
For those who deployed the stock Ubuntu 24.04 image, log into your server via terminal.
If using a private key:
ssh -i path_to_your_private_key root@yourIpAddressIf using a password:
ssh root@yourIpAddressUpdate your package lists and install the core dependencies:
apt update && apt -y upgrade && apt -y install curl wget sudoRun the CloudPanel installer script with your preferred database engine. MySQL 8.4 or MariaDB 11.4 work identically for a production WooCommerce setup. Take your pick.
MySQL 8.4
curl -sS https://installer.cloudpanel.io/ce/v2/install.sh -o install.sh && sudo DB_ENGINE=MYSQL_8.4 bash install.shMySQL 8.0
curl -sS https://installer.cloudpanel.io/ce/v2/install.sh -o install.sh && sudo DB_ENGINE=MYSQL_8.0 bash install.shMariaDB 11.4
curl -sS https://installer.cloudpanel.io/ce/v2/install.sh -o install.sh && sudo DB_ENGINE=MARIADB_11.4 bash install.shMariaDB 10.11
curl -sS https://installer.cloudpanel.io/ce/v2/install.sh -o install.sh && sudo DB_ENGINE=MARIADB_10.11 bash install.sh